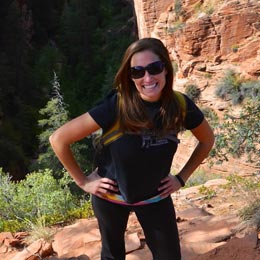
About Me
Hi, I'm Lauren. I am an outdoor enthusiast who loves hiking, canyoneering and riding dirt bikes.
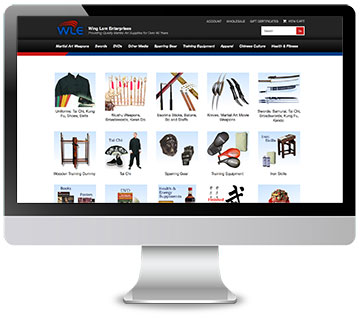
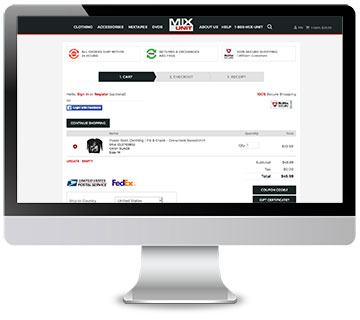
My other love is organization. I started working with web designers, helping them create organized databases and websites for their clients, but grew to love creating code for myself. I have been working with merchants in their online stores since 2005.